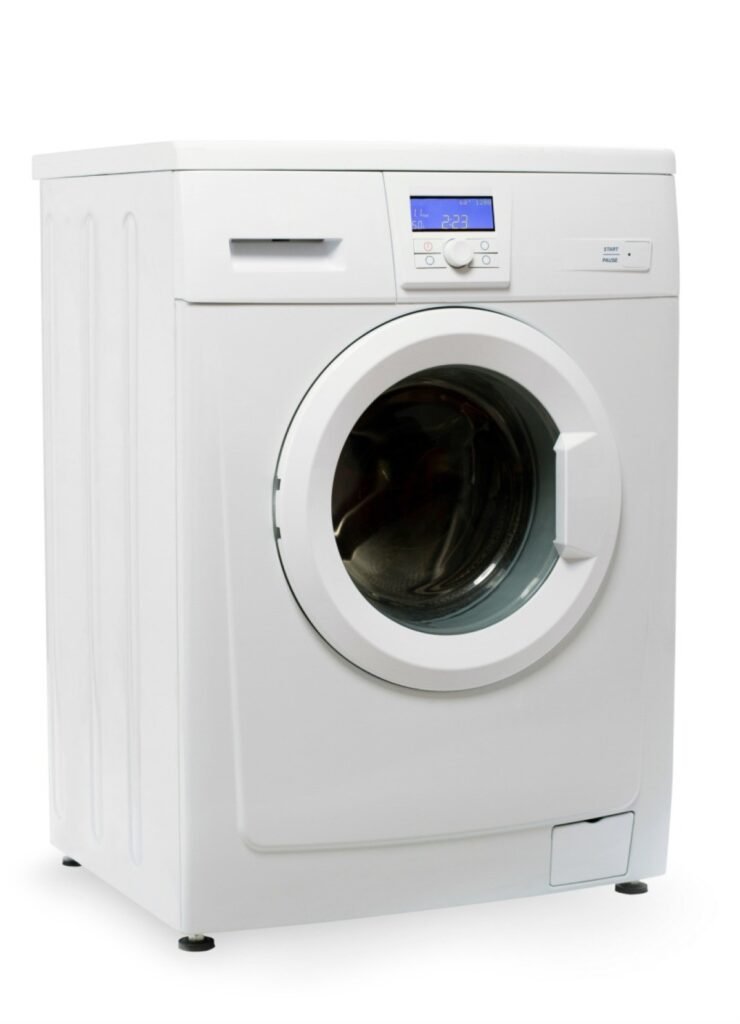
Learning how to stop a washing machine from shaking during the spin cycle without a repairman can save you a service call, a lot of noise, and quite a bit of wear on your floors. A washer that thumps, rattles, or walks across the laundry room during the spin cycle is usually not broken. In most cases, it is unbalanced, unlevel, overloaded, or sitting on a surface that amplifies vibration. The good news is that nearly all of these causes can be checked and fixed with basic tools, a little patience, and no special training. This guide walks you through the fixes in order, from the quickest checks to the deeper ones, so you can calm your machine down and keep it that way.
Before you start any inspection, unplug the machine from the wall outlet. A washer combines water and electricity, and you should never reach behind it, tilt it, or remove a panel while it is plugged in. Turn off the water supply valves as well if you plan to move the machine or disconnect any hose. If at any point you find a problem involving electrical parts, leaks near wiring, or worn internal parts you cannot safely reach, stop and call a professional. There is no shame in that. The goal here is to fix the common, safe problems yourself, not to take apart a machine you are unsure about.
Why Washing Machines Shake During the Spin Cycle
The spin cycle is the fastest and most forceful part of a wash. The drum can spin hundreds of times per minute to squeeze water out of clothes. When everything is balanced, that force stays centered and the machine hums along. When something is off, even slightly, the same force turns into shaking, banging, and movement. Understanding the cause helps you pick the right fix instead of guessing.
The most common cause is an unbalanced load. A single heavy item, such as a thick bath towel, a blanket, or a pair of jeans, can clump to one side of the drum. As the drum spins, that weight pulls it off center again and again, and the whole machine rocks. Overloading has a similar effect, because clothes cannot spread out evenly. Underloading can also cause trouble, since one lonely item has nothing to balance it.
An unlevel machine is the second major cause. Washers have adjustable feet, and if one foot is even slightly shorter than the others, the machine rocks on its base like a wobbly table. A sloped or springy floor makes this worse. Older wood floors, in particular, can flex under a spinning washer and amplify every vibration. Finally, worn parts such as shock absorbers, suspension rods, or a damaged drum bearing can cause shaking, but these usually develop gradually and come with other symptoms, like grinding noises or a drum that feels loose when you push it by hand.
Step 1: Check and Fix the Load First
Start with the simplest fix, because it costs nothing and solves the problem surprisingly often. Pause the machine, open the door, and look at how the clothes are sitting. If everything is bunched on one side, redistribute it by hand, spreading heavy items around the drum. Mix large and small items together so the weight is even. Then close the door and restart the spin.
For future loads, follow a few loading habits that prevent imbalance from the start. Wash heavy items, like towels, sheets, and jeans, together with lighter items rather than alone. Avoid washing a single heavy blanket or rug by itself. If you must wash one bulky item, add a couple of towels to balance it. Do not stuff the drum completely full. As a rule of thumb, fill it about three-quarters full and leave enough room for clothes to move freely. Clothes that can tumble and spread out will balance themselves far better than a tightly packed drum.
Pay attention to load size settings too. Many modern machines let you select small, medium, or large loads, and some detect the load automatically. Using a setting that matches the actual load helps the machine distribute water and spin more evenly. If your machine has a dedicated cycle for bulky items or bedding, use it for blankets and comforters. These cycles spin more gently at first and give heavy items time to settle evenly before reaching full speed.
Step 2: Level the Machine Properly
If redistributing the load does not help, leveling is the next step. You will need a bubble level, or a level app on your phone, and possibly a wrench or pliers for the locking nuts on the feet. Unplug the machine first, then place the level on top of the washer, first from front to back and then from side to side. The bubble should sit in the center in both directions.
Most washers have four adjustable feet that screw in and out. To raise a corner, turn the foot counterclockwise to lengthen it. To lower a corner, turn it clockwise. Adjust one foot at a time, checking the level after each change. Once the machine is level, tighten the locking nuts against the base of the machine so the feet cannot drift out of adjustment. Then try rocking the machine diagonally by pushing on opposite corners. A properly leveled washer should not rock at all. If it still rocks, one foot is not making solid contact with the floor, so adjust again.
Leveling matters more than most people realize. Even a small tilt lets the drum swing off center during the spin, and the machine has to fight that tilt on every rotation. Taking ten minutes to level the machine carefully can eliminate shaking that has been blamed on everything else. Recheck the level every few months, since vibration and moving the machine for cleaning can slowly shift the feet.
Step 3: Stabilize the Floor Under the Washer
Sometimes the machine is level but the floor is the problem. Washers on upper floors, on flexible wood subfloors, or on thin flooring can shake because the floor itself bounces. You can often reduce this dramatically with a few inexpensive additions.
Anti-vibration pads are the easiest fix. These are thick rubber or rubber-and-cork pads that sit under each foot. They grip the floor, absorb vibration, and stop the machine from creeping forward during the spin. They cost very little and take minutes to install: tilt the machine slightly, slide a pad under each foot, and set it back down. Make sure the machine is still level after adding pads, since the pads add a small amount of height.
If the floor is noticeably springy, a sturdy plywood board under the washer can help spread the weight over a wider area. A sheet of three-quarter-inch plywood, cut slightly larger than the machine footprint, gives the washer a firmer, flatter base. For persistent problems on a very bouncy floor, a washing machine pedestal or a reinforced platform may be worth considering. If the floor itself feels soft, sagging, or damaged, that is a job for a contractor rather than a washer fix.
Step 4: Check the Shipping Bolts and Transit Brackets
If your washer is fairly new and has shaken violently since the day it was installed, check for shipping bolts. Manufacturers install these bolts to hold the drum still during transport, and they must be removed before the first wash. If they are left in, the drum cannot move freely on its suspension, and the machine will shake aggressively on every spin.
Shipping bolts are usually on the back of the machine, and the installation manual shows exactly where they are and how to remove them. Unplug the machine, pull it away from the wall, and look for large bolts with plastic spacers on the rear panel. Remove them with a wrench and keep them in a safe place in case you ever move the machine again. Cover the holes with the plastic caps that came with the machine. This single oversight is one of the most common causes of violent shaking in new washers, and it is completely avoidable.
Step 5: Inspect the Shock Absorbers and Suspension
Top-load washers typically use suspension rods, while front-load washers use shock absorbers, similar to small struts, to steady the drum. Over years of use, these parts wear out, and a worn shock absorber can no longer dampen the drum’s movement. Signs of wear include a machine that shakes more than it used to, a drum that bounces freely when you press down on it, or visible leaking or damage on the absorber itself.
You can do a basic check without taking the machine apart. Unplug it, open the door, and push down firmly on the drum, then let go. The drum should bounce once and settle. If it bounces several times or feels loose and floppy, the suspension is likely worn. Checking the parts themselves usually means removing a panel, and that is where you should be cautious. If you are comfortable with basic tools and your manual shows how to access the absorbers safely, you can inspect them for cracks, leaks, or broken mounts. If anything involves electrical components, or if you cannot reach the part safely, call a professional. Replacement shock absorbers are a common repair, but they must be installed correctly to be safe.
Step 6: Look at the Drum Bearing and Other Warning Signs
A failing drum bearing usually announces itself with a loud rumbling or grinding noise during the spin, often compared to a jet engine or a train. The drum may also feel rough or wobbly when you spin it by hand while the machine is empty and unplugged. Bearing replacement is a major repair that involves dismantling much of the machine, and for most owners it is not a do-it-yourself job. If you suspect a bearing problem, get a professional opinion before deciding whether repair or replacement makes more sense, especially on an older machine.
Other warning signs that point beyond a simple fix include water leaking from under the machine, a burning smell, tripped breakers, or error codes that return after you have leveled the machine and balanced the load. Do not ignore these. Water near electrical parts is dangerous, and continuing to run a machine with a serious fault can turn a repair into a replacement. The fixes in this guide cover the vast majority of shaking problems, but they are not a substitute for professional help when the symptoms point deeper.
Mistakes to Avoid
- Overloading the drum: Cramming in one more towel is the fastest way to create an unbalanced spin. Leave room for clothes to move.
- Ignoring the level: A machine that was level when installed can drift out of level over time. Recheck it rather than assuming it is still right.
- Using the wrong cycle: A fast, heavy-duty spin on a delicate or single bulky item invites imbalance. Match the cycle to the load.
- Skipping the safety steps: Never inspect, tilt, or open a panel on a machine that is still plugged in. Unplug it first, every time.
- Chasing the symptom: If the same violent shaking returns after leveling and balancing, look deeper instead of just running smaller loads forever. A worn part will only get worse.
- Putting the washer on a slippery surface: Smooth tile or laminate lets a shaking washer slide. Anti-vibration pads solve this cheaply.
Keeping Your Washer Steady Over Time
Once your machine is running smoothly, a few habits will keep it that way. Sort loads by weight and fabric type when you can, and avoid mixing very heavy items with very light ones. Use the right amount of detergent, since excess suds can cushion clothes unevenly and confuse the machine’s balance sensors. Wipe the door seal and leave the door slightly open between washes so moisture does not build up, which helps prevent the musty smells covered in our guide on Stop a Washing Machine Smelling Without Vinegar. If your washer ever starts creeping across the floor, read How to Stop a Washing Machine From Walking Across the Floor for extra stabilization ideas. Clean the drain pump filter every month or two, since a clogged filter can affect drainage and add strain during the spin. Finally, recheck the level a couple of times a year, especially after moving the machine or cleaning behind it.
Most shaking washers can be fixed in under an hour with the steps above, and the most common fixes cost nothing at all. Start with the load, level the machine, stabilize the floor, and check for shipping bolts on a new machine. Work through the list methodically rather than trying everything at once, and test a spin cycle after each change so you know which fix made the difference. A calm, steady washer is quieter, lasts longer, and treats your clothes more gently, and you can usually get there without a repairman.
FAQ
Why does my washing machine shake only during the spin cycle?
The spin cycle runs far faster than the wash or rinse cycles, so any imbalance or leveling problem shows up most dramatically there. A load that seems fine at low speed can pull the drum off center once it reaches full spin speed.
Is it safe to keep using a shaking washing machine?
Occasional mild vibration is normal, but violent shaking is not safe to ignore. It can damage the machine, crack hoses, loosen connections, and damage flooring. Fix the cause promptly, and stop using the machine if you see leaking, smell burning, or hear grinding.
Can an unbalanced load damage my washer?
Yes. Repeated unbalanced spins strain the suspension, bearings, and motor, and can shorten the life of the machine. Balancing loads properly is one of the easiest ways to protect your washer.
Do anti-vibration pads really work?
Yes, for most machines they noticeably reduce vibration and stop the washer from sliding. They work best when combined with proper leveling. They cannot fix a worn shock absorber or a failing bearing, but they are an excellent first step on a hard floor.
How often should I check whether my washer is level?
Check it after installation, after moving the machine, and a couple of times a year as routine maintenance. Vibration can slowly shift the adjustable feet, so a quick check with a level takes only a minute.
When should I call a professional instead of fixing it myself?
Call a professional if the problem involves electrical parts, leaks near wiring, worn internal parts you cannot safely reach, grinding noises that suggest a bearing failure, or any fault that persists after leveling and balancing. Safety comes before saving a service fee.