Figuring out how to clean grout lines in bathroom tiles without a scrub brush usually starts with the same frustrating moment: you are staring at dingy, discolored grout, you own no stiff-bristled grout brush, and you really do not want to buy one. The good news is that some of the most effective grout-cleaning methods do not involve a scrub brush at all. Between household pastes that dissolve grime, steam that loosens it without chemicals, and clever tools you already own, you can restore dirty grout lines to near-new condition using whatever you have in the house right now.
This guide covers seven proven methods ranked from gentlest to strongest, a step-by-step for the best all-around technique, and the sealing trick that keeps grout clean far longer afterward.
Why Grout Lines Get So Dirty
Grout is basically cement, which means it is porous. Every shower, splash, and footstep presses soap scum, body oils, mineral deposits, and cleaning-product residue into those tiny pores. In a bathroom, constant humidity adds mildew to the mix, and in floor grout, tracked-in dirt does the rest. Over time the grout darkens from its original color to gray, brown, or even orange-pink from bacteria. Understanding this matters because it changes your approach: you are not just wiping a surface, you are pulling contaminants out of a porous material. That is why the best methods either dissolve the grime chemically or drive it out with heat and steam — brute-force scrubbing is only one option, and not always the best one.
7 Methods to Clean Grout Without a Scrub Brush
1. Baking soda paste and hydrogen peroxide (best all-around)
Mix baking soda with just enough 3% hydrogen peroxide to form a thick paste, roughly the consistency of toothpaste. Spread it along the grout lines with an old toothbrush handle, a butter knife, or your fingers in gloves. Let it sit for 10 to 15 minutes so the peroxide can oxidize stains and the baking soda can lift them, then wipe it away with a damp microfiber cloth. This combination handles soap scum, light mildew, and general dinginess on both wall and floor grout. It is cheap, non-toxic, and safe for most tile types, which is why it is the first method to try.
2. Steam mop or handheld steamer (best chemical-free option)
If you own a steam mop or handheld garment steamer, you already own a grout cleaner. Hold the steam nozzle close to the grout line and move slowly — the heat softens soap scum and kills mildew while the condensation flushes debris out of the pores. Follow behind with a microfiber cloth to pick up the loosened grime. Steam is especially effective on shower walls and floors, and because it uses no chemicals, it is safe for every tile and grout type, including natural stone. The one catch: unsealed or cracked grout can absorb excess water, so keep the steamer moving and ventilate the bathroom afterward.
3. Oxygen bleach soak (best for stained floor grout)
Oxygen bleach (sodium percarbonate, sold as a laundry booster) dissolves in hot water to release oxygen bubbles that bleach stains without chlorine’s harshness. Mix it strong — about a quarter cup per gallon of hot water — pour it over floor grout lines, and let it sit for 15 to 30 minutes. The solution does the scrubbing work chemically. Mop or wipe it up, then rinse with clean water. This is the heavy hitter for floor grout that has years of embedded dirt. Important: this is not the same as chlorine bleach, and it is color-safe for most grout, though you should still test a small hidden area first.
4. White vinegar spray (use with caution)
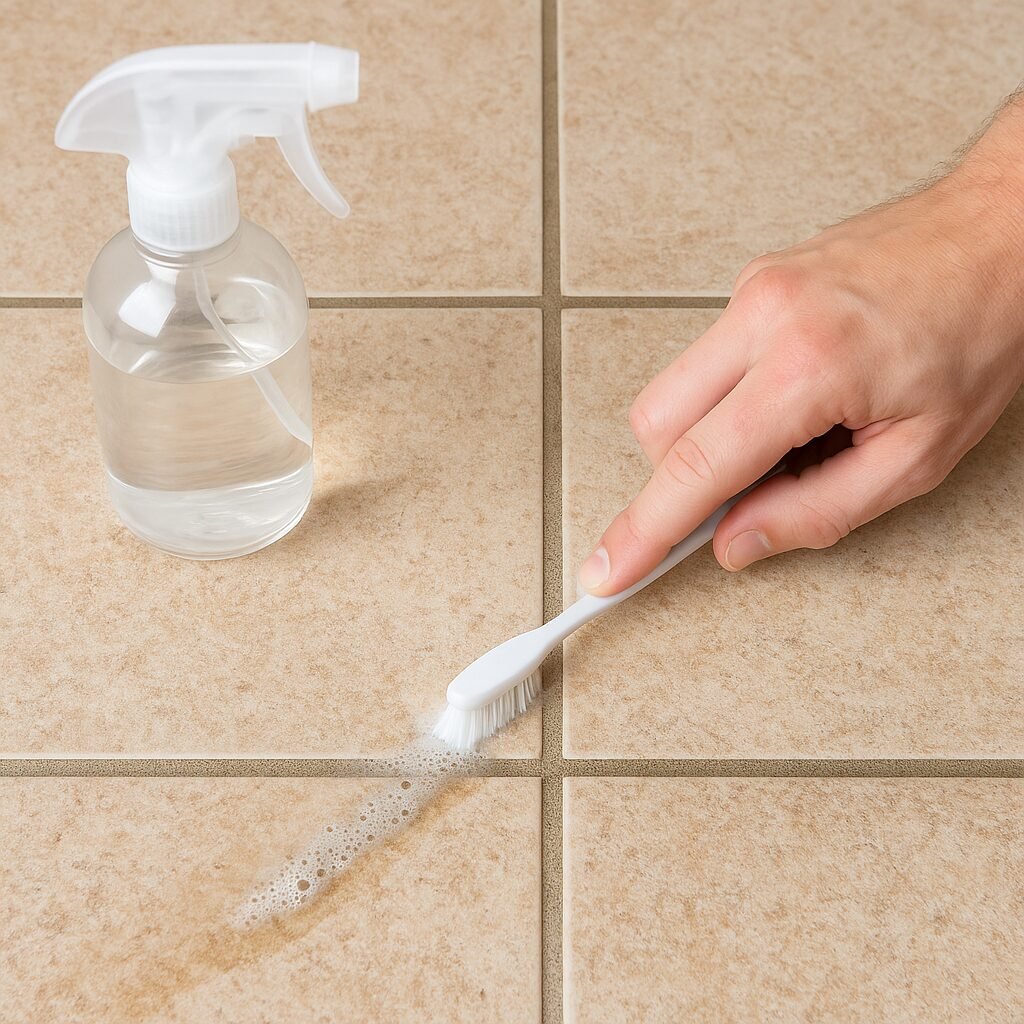
Undiluted white vinegar in a spray bottle cuts through mineral deposits and light soap scum. Spray the grout lines, wait 5 to 10 minutes, and wipe with a damp cloth. The acid dissolves calcium and limescale that alkaline cleaners leave behind. The caution: vinegar is an acid, and it can etch natural stone tiles (marble, travertine, limestone) and weaken unsealed grout with repeated use. It is fine on ceramic and porcelain tile with sealed grout, but never use it on stone. When in doubt, skip it in favor of method 1 or 2.
5. Dish soap and hot water with a microfiber cloth (best light maintenance)
For grout that is dusty or lightly soiled rather than stained, a drop of dish soap in hot water and a microfiber cloth are enough. The microfiber’s fine fibers reach into the grout’s texture better than a cotton rag. Wring the cloth well, wipe along the lines in both directions, and rinse the cloth frequently. This will not fix years of neglect, but it is the right weekly maintenance routine once your grout is clean again.
6. A grout pen or marker (best cosmetic refresh)
Grout pens are not cleaners — they are paint-like markers that recolor grout lines to look fresh. If your grout is structurally sound but permanently stained, a grout pen in a matching color can make it look brand new in minutes with zero scrubbing. Clean the surface first with one of the methods above, let it dry completely, then run the pen along the lines. It is a cosmetic fix rather than a deep clean, but for rental bathrooms or quick refreshes before guests arrive, it is unbeatable.
7. Commercial grout cleaner (strongest option)
Store-bought grout cleaners use stronger acids or surfactants than household mixes. They work, but read the label: some are unsafe for natural stone, and many require gloves and ventilation. Apply according to the directions, usually spraying on, waiting a few minutes, and wiping off. Reserve this for grout that household methods could not handle, and always test in an inconspicuous spot first.
Step-by-Step: The Best Method for Most Bathrooms
For a typical bathroom with ceramic or porcelain tile and moderately dirty grout, here is the routine that gives the most dramatic results with the least effort:
- Ventilate the bathroom. Run the exhaust fan or crack a window. Several of these methods work better — and smell less — with airflow.
- Sweep or wipe the tile first. Remove loose dust, hair, and surface dirt so you are cleaning grout, not moving dirt around.
- Apply the baking soda and hydrogen peroxide paste. Spread it generously over the grout lines. On walls, work top to bottom in sections so the paste does not dry out before you finish.
- Wait 10 to 15 minutes. Do not let it dry completely — if it starts to crust, mist it lightly with water from a spray bottle.
- Wipe and agitate. Use a damp microfiber cloth, wiping firmly along the grout lines. For stubborn spots, an old toothbrush, a stiff dish brush, or even a credit card edge gives you scrubbing power without a dedicated grout brush.
- Rinse thoroughly. Go over the tile with a clean damp cloth or mop to remove all paste residue. Leftover baking soda attracts dirt.
- Dry the area. Towel-dry wall grout or run the fan; damp grout re-soils faster.
That single routine handles the vast majority of dirty grout. Reserve the oxygen bleach soak for floor grout that stays dingy afterward.
Natural vs. Chemical Cleaners: Pros and Cons
Natural methods (baking soda, peroxide, steam, vinegar): cheap, non-toxic, safe for kids and pets, and gentle on most surfaces. The trade-off is elbow grease — they take longer and may need a second pass on heavy stains.
Oxygen bleach: sits in the middle — stronger than household pastes but far gentler and safer than chlorine bleach or acid cleaners. Great for floor grout.
Commercial chemical cleaners: fastest results on extreme stains, but they cost more, require ventilation and gloves, and some can damage stone or colored grout. Always match the product to your tile type.
One hard rule: never mix cleaners. Combining bleach with vinegar or ammonia creates toxic fumes. Use one method at a time and rinse between different products.
Keep Grout Clean Longer: Seal It
Cleaning grout is satisfying, but sealing it is what keeps it clean. Grout sealer is a liquid you wipe or brush onto clean, dry grout lines; it soaks into the pores and makes the surface water- and stain-resistant. A penetrating sealer — the kind recommended for bathroom grout — does not change the grout’s appearance, it just stops future grime from sinking in.
Apply sealer only after the grout is fully clean and completely dry (wait at least 24 hours after cleaning). Brush or dab it along the lines, let it penetrate for the time stated on the bottle, and wipe excess off the tile faces. Most bathroom grout needs resealing every one to two years. After sealing, a quick weekly wipe with the dish-soap-and-microfiber routine is usually enough to keep grout looking new — the sealer does the heavy lifting.
Everyday Habits That Prevent Dirty Grout
- Run the exhaust fan during and after every shower. Humidity is the main driver of mildew in grout; twenty minutes of fan time after showering makes a huge difference.
- Squeegee shower walls after use. Thirty seconds with a squeegee removes the soap and mineral film before it can settle into grout pores.
- Wipe splashes near the sink promptly. Toothpaste, shaving cream, and soap residue stain grout if left to dry.
- Use a bath mat and shake it out regularly. Floor grout near the tub collects the most dirt; a mat absorbs most of it.
- Mop bathroom floors weekly with clean water. Dirty mop water just redeposits grime into grout — rinse the mop head frequently.
Common Mistakes to Avoid
Using vinegar or lemon on natural stone. Acids etch marble, travertine, and limestone permanently. If you have stone tile, stick to pH-neutral methods like baking soda paste or steam.
Scrubbing with wire brushes or steel wool. These gouge grout and scratch tile glaze. You do not need them — chemical and steam methods do the work.
Leaving cleaners on too long. “More time equals more clean” is not true for acids and strong chemicals, which can discolor grout or damage finishes. Follow the dwell times in this guide.
Sealing dirty grout. Sealer locks in whatever is underneath. If you seal over stained grout, the stains are trapped. Always clean first, dry completely, then seal.
Using colored cleaners on light grout. Some commercial cleaners and even colored dish soaps can tint light or white grout. Test first on a hidden area.
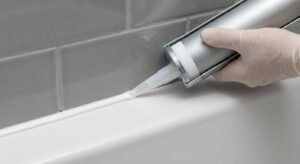
Ignoring the caulk lines. The flexible sealant where tub meets tile is not grout — it needs different care. If yours is cracked or moldy, refreshing the whole bathroom pairs well with a re-caulk, and practical upgrades like keeping the mirror fog-free or clearing a slow drain without a plunger round out a full bathroom maintenance session.
Frequently Asked Questions
Can I really clean grout without a scrub brush?
Yes. Chemical cleaners like oxygen bleach and baking soda paste dissolve grime so wiping replaces scrubbing, and steam loosens it with heat. A microfiber cloth, old toothbrush, or even a credit card edge handles any light agitation needed.
What is the best homemade grout cleaner?
A paste of baking soda and 3% hydrogen peroxide is the best all-around homemade grout cleaner for ceramic and porcelain tile. It lifts soap scum and light mildew without harsh fumes. For mineral deposits, plain white vinegar works on non-stone tile.
How do I clean grout on natural stone tile?
Stick to pH-neutral methods: baking soda paste, steam, or a stone-safe commercial cleaner. Never use vinegar, lemon juice, or acidic commercial grout cleaners on marble, travertine, or limestone — acids etch the stone permanently.
Why does my grout get dirty again so fast?
Unsealed grout is porous and reabsorbs grime quickly, especially in humid bathrooms without ventilation. After deep cleaning, apply a penetrating grout sealer and run the exhaust fan after every shower to dramatically slow re-soiling.
Is bleach safe for grout?
Oxygen bleach (sodium percarbonate) is generally safe and effective for grout. Chlorine bleach also works but can weaken grout over time, discolor colored grout, and produces harsh fumes — use it only as a last resort, diluted, with strong ventilation.