
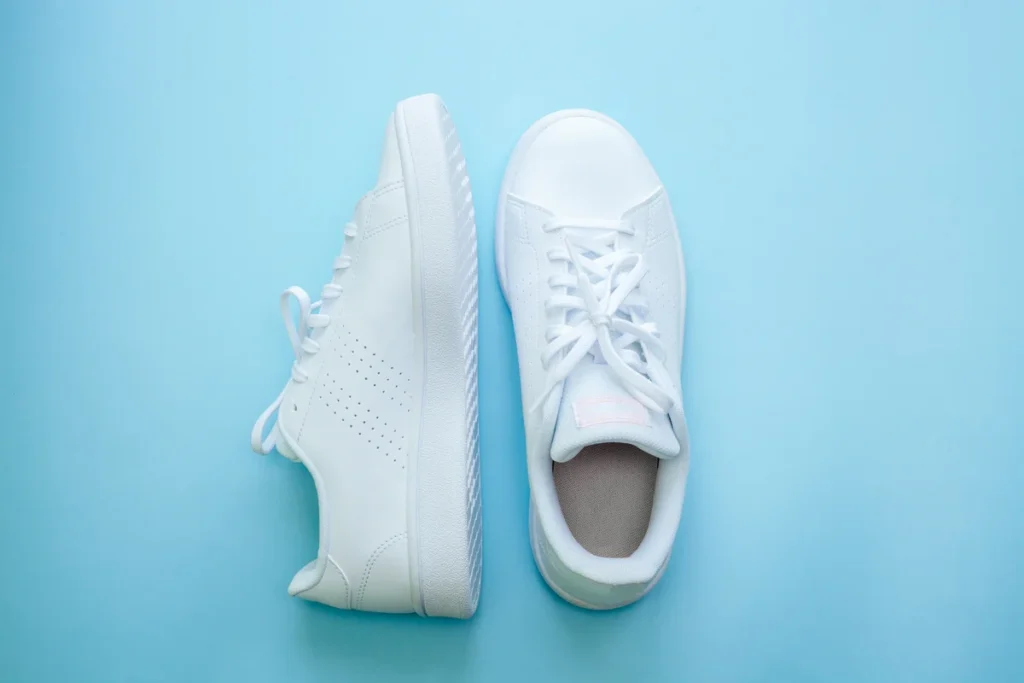
Learning how to clean white sneakers without bleach is one of the smartest things you can do for your footwear. Bleach might seem like a shortcut to bright white shoes, but it often does more harm than good — weakening fabrics, yellowing soles, and damaging leather. The good news is that you can get sneakers looking fresh and clean again using simple household ingredients and a little patience. This guide walks you through a proven, bleach-free method that works on canvas, leather, mesh, and knit sneakers alike.
Why Bleach Is Risky for Sneakers
Before we get to the good stuff, it helps to understand why bleach is worth skipping. Bleach is an aggressive chemical. On fabric sneakers, it can eat away at the fibers, making them thinner and more prone to tearing. On leather, it strips away natural oils and finishes, leaving the surface dry, cracked, or discolored.
There is also the issue of color. Many white sneakers have subtle colored accents: stitching, logos, lining, or cushioning that shows through the mesh. Bleach does not discriminate — it will fade or spot those areas just as easily as it whitens the rest. And if any bleach residue is left behind, it keeps working long after the shoes are dry, slowly weakening the material over weeks.
Finally, bleach is rough on your hands, your clothes, and the environment. The gentle method below cleans just as effectively for everyday dirt and most stains, without any of these risks. Your sneakers will last longer and look better for it.
What You Will Need
You probably have most of these supplies already. Gathering everything before you start makes the process much smoother:
- Baking soda — a gentle abrasive and odor neutralizer.
- Mild dish soap — cuts grease without harsh chemicals.
- Warm water — warm, not hot.
- White vinegar — optional, helps with stubborn stains.
- An old toothbrush or soft-bristled brush — perfect for scrubbing details.
- A larger soft brush or old cloth — for general cleaning.
- A magic eraser sponge — excellent for rubber soles and scuffs.
- A clean towel or rag — for wiping and blotting.
- Paper towels or newspaper — for stuffing the shoes while they dry.
- An old pillowcase or mesh laundry bag — if you decide to use the washing machine.
The whole process takes about 30 to 45 minutes of hands-on work, plus drying time.
Step 1: Prep the Shoes
Start by removing the laces and insoles from each shoe. Laces and insoles hold a lot of grime on their own, and taking them out lets you reach every corner of the shoe. Set them aside — we will clean them separately later.
Next, knock the shoes together sole-to-sole over a trash can or outside to shake off loose dirt, dust, and pebbles stuck in the tread. If there is caked-on mud, let it dry completely first, then brush it off with the dry brush. Scrubbing wet mud only pushes it deeper into the fabric.
Step 2: Make Your Cleaning Solution
The core of this method is a simple paste: mix two parts baking soda with one part mild dish soap, then add just enough warm water to make a thick, spreadable paste — roughly the consistency of toothpaste. For one pair of sneakers, about two tablespoons of baking soda and one tablespoon of dish soap is usually plenty.
If you are dealing with mild everyday dirt, you can also use a simpler solution: a few drops of dish soap in a bowl of warm water, applied with a cloth. The paste version has more scrubbing power for stains, so choose based on how dirty the shoes are.
Step 3: Clean the Laces
Drop the laces into a small bowl of warm water with a few drops of dish soap and a spoonful of baking soda. Let them soak for about 20 minutes, then scrub them gently with the toothbrush, rinse thoroughly, and hang them to air dry. White laces respond especially well to this treatment — they are often the part of the shoe that looks dirtiest, and they come out looking nearly new.
For laces with stubborn spots, add a splash of white vinegar to the soak water. It helps break down grime without bleaching the fibers.
Step 4: Clean the Soles and Midsoles
The rubber soles and midsoles show dirt the most, but they are also the most forgiving part of the shoe. Dip your brush or magic eraser into the cleaning paste and scrub the soles using small circular motions. Pay attention to the tread grooves and the edges where the sole meets the upper — dirt collects heavily there. For textured treads, the toothbrush reaches into grooves that larger brushes miss. Wipe the soles clean with a damp cloth, then a dry towel.
Step 5: Clean the Uppers
Now for the main event. Dip your soft brush into the paste and work it into the upper in gentle circular motions, section by section. Let the paste sit for 10 to 15 minutes so the baking soda can lift dirt out of the material. Avoid scrubbing too aggressively — you want to lift the dirt, not push it around or fray the fabric.
Once the paste has had time to work, wipe it away with a clean cloth dampened with warm water. Rinse the cloth frequently so you are not re-depositing dirt. Go over the shoe as many times as needed until the water in your cloth comes away clean. For tight spots around eyelets, seams, and the toe box, switch to the toothbrush.
Be careful not to soak the shoes. You want them damp from cleaning, not waterlogged. Excess water can damage adhesives and cause materials to warp.
Step 6: Clean the Insoles
Sprinkle baking soda generously over the insoles and let it sit for at least 20 minutes — longer if they have odor. The baking soda absorbs smells and moisture. Then wipe them down with a cloth dampened with soapy water, rinse lightly, and let them air dry separately from the shoes. Putting damp insoles back into the shoes traps moisture and odor, so wait until both are fully dry.
Material-Specific Tips
Different sneaker materials need slightly different handling. Here is how to adjust the method:
Canvas
Canvas is tough and can handle the full paste treatment. Scrub along the weave of the fabric rather than against it to avoid fraying. Canvas also takes the vinegar addition well for stain spots — dab, do not pour.
Leather
Use less water on leather sneakers and a softer touch. Apply the paste with a cloth instead of a stiff brush, and wipe it off promptly rather than letting it sit. After cleaning and drying, apply a leather conditioner to restore moisture and keep the leather supple. This step matters — skipping it is how white leather sneakers end up cracked and dull.
Mesh
Mesh is delicate and tears easily. Use only a soft brush or cloth, and press gently. The dish-soap-and-water solution (rather than the thick paste) is usually enough for mesh, since dirt sits on the surface of the open weave. Letting mesh get too wet can distort its shape, so blot — do not wring.
Knit
Knit uppers, like those on many modern athletic sneakers, stretch out of shape if handled roughly. Use minimal pressure, avoid the washing machine, and never twist the shoe. Support the shape of the shoe with your hand while you scrub, and stuff it with paper towels while it dries so it holds its form.
Tough-Stain Fixes
Everyday dirt comes out with the basic method above. For specific stains, try these targeted approaches:
Grass Stains
Mix a paste of baking soda and white vinegar (it will fizz — that is normal). Apply it directly to the grass stain, let it sit for 30 minutes, then scrub gently and rinse. The fizzing action helps lift the green pigment out of the fibers.
Oil and Grease Stains
Oil is the one case where speed matters: blot fresh grease immediately with a dry cloth or paper towel — never rub, which spreads it. Cover the spot with baking soda and leave it for several hours or overnight to absorb the oil. Then brush the baking soda away and clean the area with the dish-soap solution. Dish soap is designed to cut grease, so it handles the residue well.
Scuff Marks
Black scuff marks on rubber soles or leather uppers come off easily with a magic eraser — just rub lightly and watch them disappear. On fabric uppers, dab the scuff with a cloth dipped in white vinegar, then follow with the regular cleaning paste.
Yellowing
Yellowed soles and fabrics are the most common reason people reach for bleach — but bleach usually makes yellowing worse. Instead, make a paste of baking soda and hydrogen peroxide (the kind sold for first aid, not hair dye strength). Apply it to the yellowed areas, wrap the shoes in plastic wrap, and leave them in direct sunlight for one to two hours. The combination of the paste and UV light lifts yellowing remarkably well. Rinse and dry normally afterward.
Mud
Let mud dry completely before touching it — this cannot be stressed enough. Once dry, brush or knock off as much as possible, then clean the residue with the standard paste method. Trying to clean wet mud grinds it into the material.
Drying Correctly
How you dry your sneakers matters almost as much as how you clean them. Never use a dryer, radiator, or hair dryer on high heat — direct heat warps soles, shrinks fabrics, and can melt adhesives. Here is the right way:
- Stuff each shoe with paper towels or clean newspaper to absorb moisture from the inside and help the shoe hold its shape. Avoid printed newspaper on white fabric uppers, since the ink can transfer.
- Place the shoes in a well-ventilated spot at room temperature, away from direct heat.
- If possible, set them in indirect sunlight or near an open window — gentle airflow speeds drying.
- Replace the stuffing once or twice as it gets damp.
- Let them dry completely, which usually takes 12 to 24 hours depending on humidity. Do not wear them until they are fully dry.
Some people ask whether the washing machine is an option. For sturdy canvas sneakers with no leather parts, a machine wash on a gentle, cold cycle inside a pillowcase or mesh bag can work as a last resort — but it is harder on the shoes than hand cleaning and increases the risk of shape loss and sole separation. Hand washing is always the safer choice.
Keeping Them White Longer
Cleaning restores white sneakers, but prevention keeps them looking fresh between cleanings:
- Apply a protectant spray. A water and stain repellent designed for shoes creates an invisible barrier that makes dirt and liquids bead up instead of soaking in. Reapply every few weeks.
- Wipe them down after each wear. A quick once-over with a damp cloth takes 30 seconds and prevents grime from building up.
- Store them properly. Keep white sneakers out of direct sunlight when you are not wearing them — prolonged UV exposure yellows soles over time. A cool, dry closet is ideal.
- Rotate your shoes. Wearing the same pair every day wears them down faster and gives sweat no time to evaporate. If you can, alternate between two pairs.
- Address stains immediately. Fresh stains come out far more easily than old, set-in ones. The longer a stain sits, the deeper it bonds with the material.
Building small habits like these is much like keeping other things in your home in good shape — for example, regular gentle cleaning routines work better than occasional deep rescues, whether it is shoes or anything else you maintain regularly.
Common Mistakes to Avoid
- Using bleach. As covered above, it weakens fabrics, yellows soles, and fades accents. The bleach-free method works just as well.
- Scrubbing too hard. Aggressive scrubbing frays canvas, pills knit, and can tear mesh. Let the cleaning paste do the work.
- Soaking the shoes. Submerging sneakers in water damages glue and warps materials. Damp cleaning is the way to go.
- Using hot water. Hot water can set protein-based stains and damage adhesives. Stick to warm or cool water.
- Drying with direct heat. Dryers and radiators cause shrinkage, warping, and sole separation. Air dry only.
- Wearing them before they are fully dry. Damp shoes stretch, develop odor, and pick up new dirt faster.
- Skipping the test spot. On leather or colored accents, test your cleaning solution on a small hidden area first to make sure it does not cause discoloration.
Steering clear of these mistakes is half the battle — and once you have the routine down, it becomes second nature, much like following a simple storage method until it turns into habit.
Frequently Asked Questions
Can I clean white sneakers without baking soda?
Yes. If you do not have baking soda, mild dish soap and warm water applied with a soft brush handle everyday dirt well. For extra cleaning power, a paste made from dish soap and a little salt or white non-gel toothpaste can substitute as a gentle abrasive.
Will dish soap damage leather sneakers?
Mild dish soap is safe for occasional leather cleaning as long as you use it sparingly, wipe it off promptly, and follow up with a leather conditioner once the shoes are dry. Avoid soaking leather and never use harsh detergents or anything with added bleach.
How often should I clean my white sneakers?
A quick wipe-down after each wear and a deeper clean every two to three weeks keeps white sneakers looking their best, depending on how often you wear them and the conditions. Waiting until they look visibly filthy makes the job much harder.
Can I put white sneakers in the washing machine?
It is possible for sturdy all-canvas sneakers: use a cold gentle cycle, place them in a pillowcase or mesh bag, and air dry afterward. That said, machine washing stresses adhesives and can distort shape, so hand cleaning remains the safer and recommended method — especially for leather, knit, or mesh shoes.
Why do my white soles keep turning yellow?
Yellowing of white rubber soles is usually caused by oxidation, prolonged sun exposure during storage, or residue from bleach and harsh cleaners. The baking-soda-and-hydrogen-peroxide paste method described above reverses most yellowing. Storing shoes away from direct sunlight helps prevent it from returning.
Is vinegar safe for all sneaker materials?
White vinegar is safe for canvas, mesh, and rubber in small amounts. On leather, use it very sparingly and wipe it off quickly, since prolonged exposure can dry leather out. Never use colored vinegars (like apple cider vinegar) on white shoes — they can leave their own stains.













1 thought on “How to Clean White Sneakers Without Bleach: Step-by-Step”
Comments are closed.